Managing business expenses is a crucial aspect of both personal and business life.
In the professional realm, one of the most used tools for tracking expenses is the humble expense report, enabling managers and business owners to document and monitor employees' transactions for reimbursement and tax purposes efficiently.
The versatility of a Google Sheets-based expense report lies in its accessibility and collaborative features.
We chose the following expense report templates in Google Sheets for their user-friendliness for expense reporting. They also provide a clear structure for categorizing and summarizing expenses while offering customization options for various needs.
Without further ado, here are our top picks for expense report templates you can use in Google Sheets to optimize your budget and monitor business spending.
Top free expense report templates for Google Sheets
Expense report templates offer an efficient way to manage and monitor expenses in a structured manner. Here are some examples of templates accessible in Google Sheets:
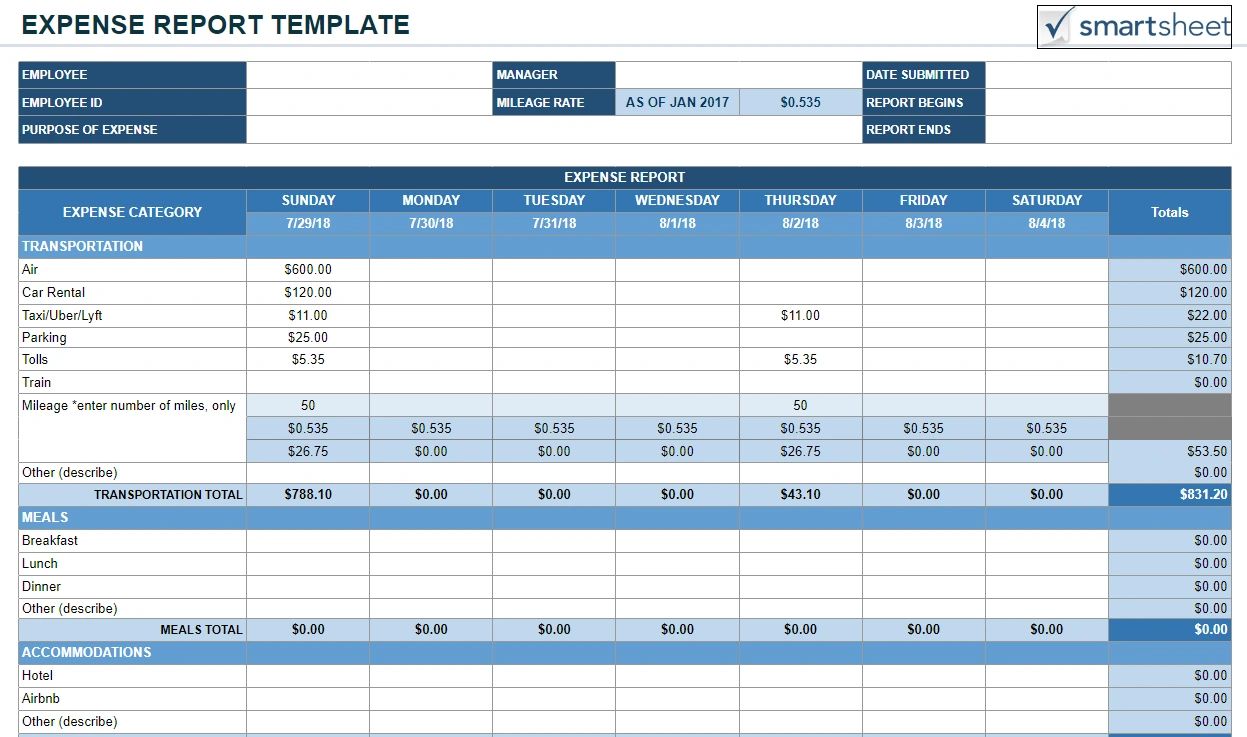
1. Expense Report Template by Smartsheet
This template is perfect for individual use or small businesses looking for a straightforward method to track expenses. It includes fields for date, description, category, and amount. To use this expense report example by Smartsheet, go to "File > Make a Copy."
2. Simple Expense Report by theGoodocs.com
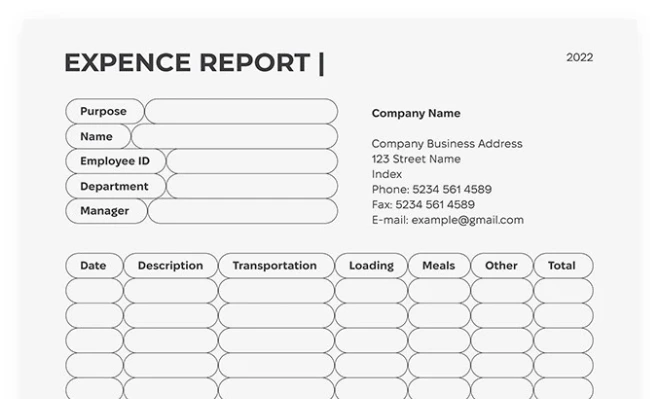
The minimalists will love this Simple Expense Report template by theGoodocs.com, which has a very clean design. The only drawback is the spelling mistake in the title, but since that's fixable, this gets a solid A in our books. You can use this for business-related expenses or as an employee expense report template.
3. Free Small Business Spreadsheet Template by Template.net
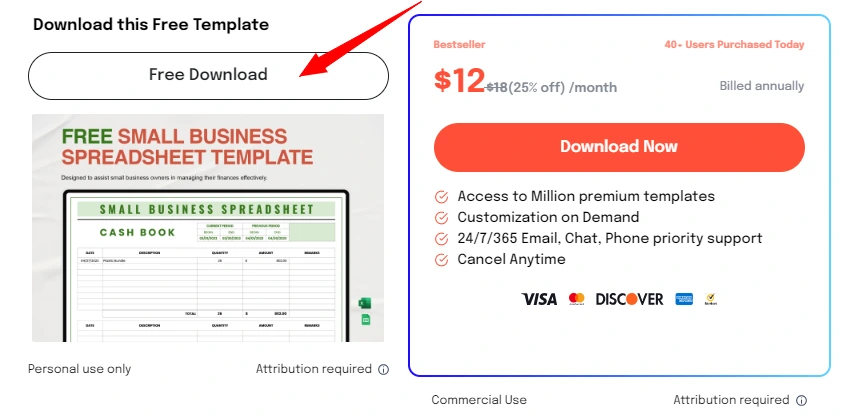
This expense report is aimed at small businesses. To download this template, click on the "Google Sheets" button underneath the text "Download Free Template." You'll be taken to a popup, which will give you another button to click. Sign in with your Gmail account, and then you'll be able to make a free copy of this template to use.
4. Travel Expense Report Template by EverTech Innovations
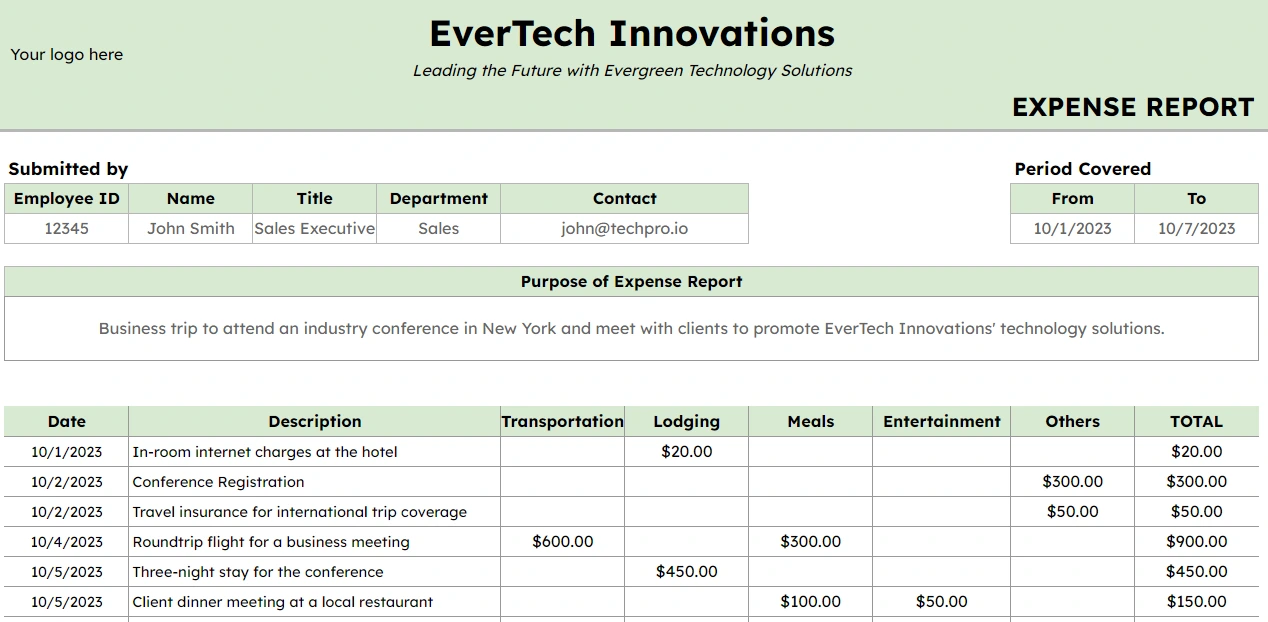
This is a travel expense report template that you can share with your employees. There are spaces for the employee ID, name, title, department, and contact email. And with pre-set categories, it will be easy for managers to see how much was spent at a glance. To use this Google Sheet template, you'll be asked to make a copy in the link below.
5. Shoeboxed, the best expense report alternative
Google Sheets can be ideal for managing expenses through customized templates. However, Shoeboxed offers a different approach.
Employers and business owners choose Shoeboxed when looking for a simpler alternative to spreadsheets—particularly when they're tired of sending out reminders and trying to gather all the business expense information in one place.
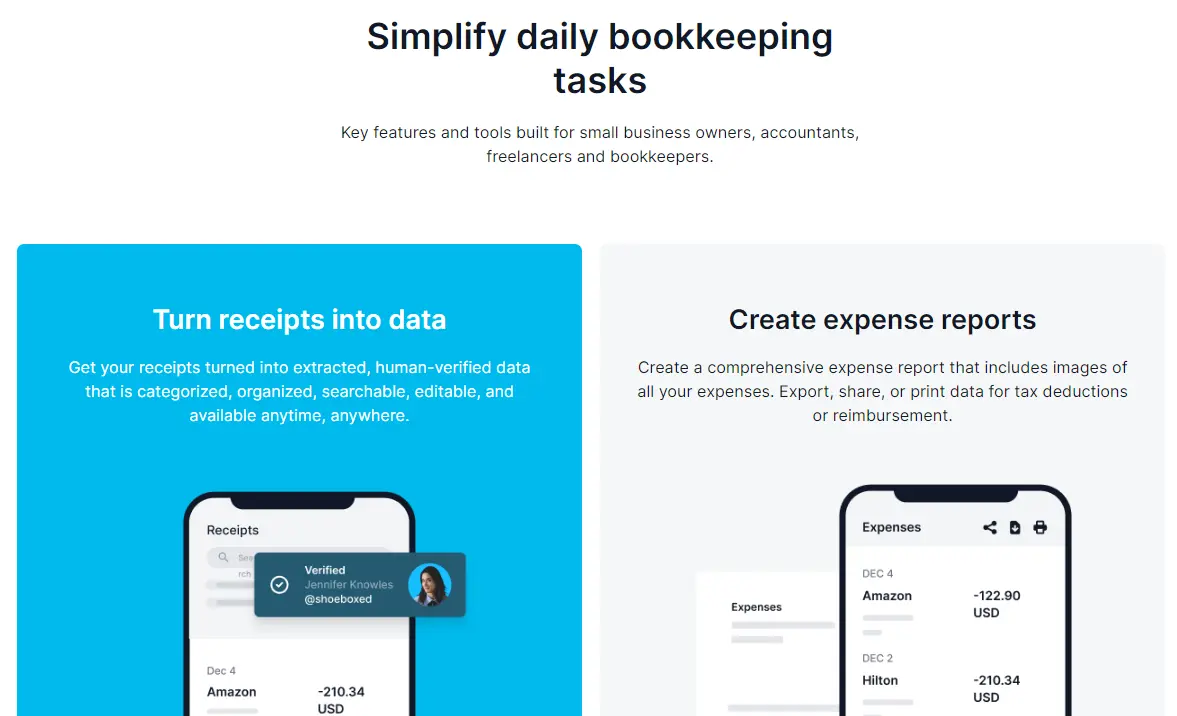
Digital method—Sign up to Shoeboxed.com, and create free users for each team member. Each team member then downloads the Shoeboxed app for tracking receipts on the go. Digital plans start from $12 for 600 digital document scans.
Physical receipts method—Give your team a Magic Envelope per month and simply have them send in their receipts for scanning and data validation and extraction. Physical + Digital plans start from $18 per month for 600 digital document scans + 300 physical document scans.

Users are notified once data from receipts has been extracted. Your accounting team can then check employees’ data in Shoeboxed, eliminating the need for expense reports entirely. Or you can have your employees export the itemized expenses as an expense report to send to your accounting team.
Benefits of Shoeboxed over traditional Google Sheets templates:
No manual data entry—Users avoid entering business expenses manually, as Shoeboxed extracts relevant information from scanned receipts.
Secure cloud storage—Receipts are stored securely in the Shoeboxed dashboard, providing access whenever required without fear of loss or damage.
Shoeboxed is the only receipt scanner app that will handle both your paper receipts and your digital receipts—saving customers up to 9.2 hours per week from manual data entry!
Stop doing manual data entry 🛑
Outsource receipt scanning to Shoeboxed’s scanning service and free up your time for good. Try free for 30 days! ✨
Get Started TodayWhat else can Shoeboxed do?
Shoeboxed has been voted as the best receipt scanner app for tax season by Hubspot and given the Trusted Vendor and Quality Choice awards by Crozdesk.
A quick overview of Shoeboxed's award-winning features:
a. Mobile app and web dashboard
Shoeboxed’s mobile app lets you snap photos of paper receipts and upload them to your account right from your phone.
Shoeboxed also has a user-friendly web dashboard to upload receipts, warranties, contracts, invoices, and other documents from your desktop.
b. Gmail receipt sync feature for capturing e-receipts
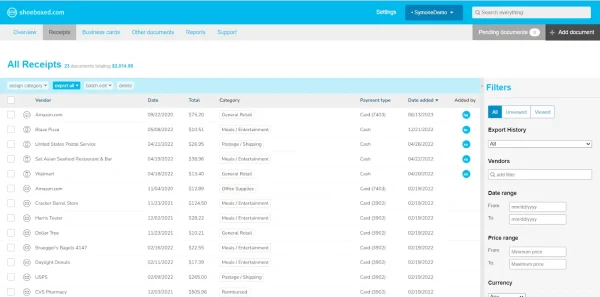
Importing e-receipts to your Shoeboxed account is as easy as syncing your Gmail with Shoeboxed, using Shoeboxed's special Gmail Receipt Sync feature.
Shoeboxed’s Gmail Receipt Sync grabs all receipt emails and sends them to your account for automatic processing! These receipts are then labeled as Sent to Shoeboxed in your Gmail inbox.
In short, Shoeboxed pulls the receipt data from your email, including the vendor, purchase date, currency, total, and payment type, and organizes it in your account.
Your purchases will even come with images of the receipts attached!
c. Expense reports
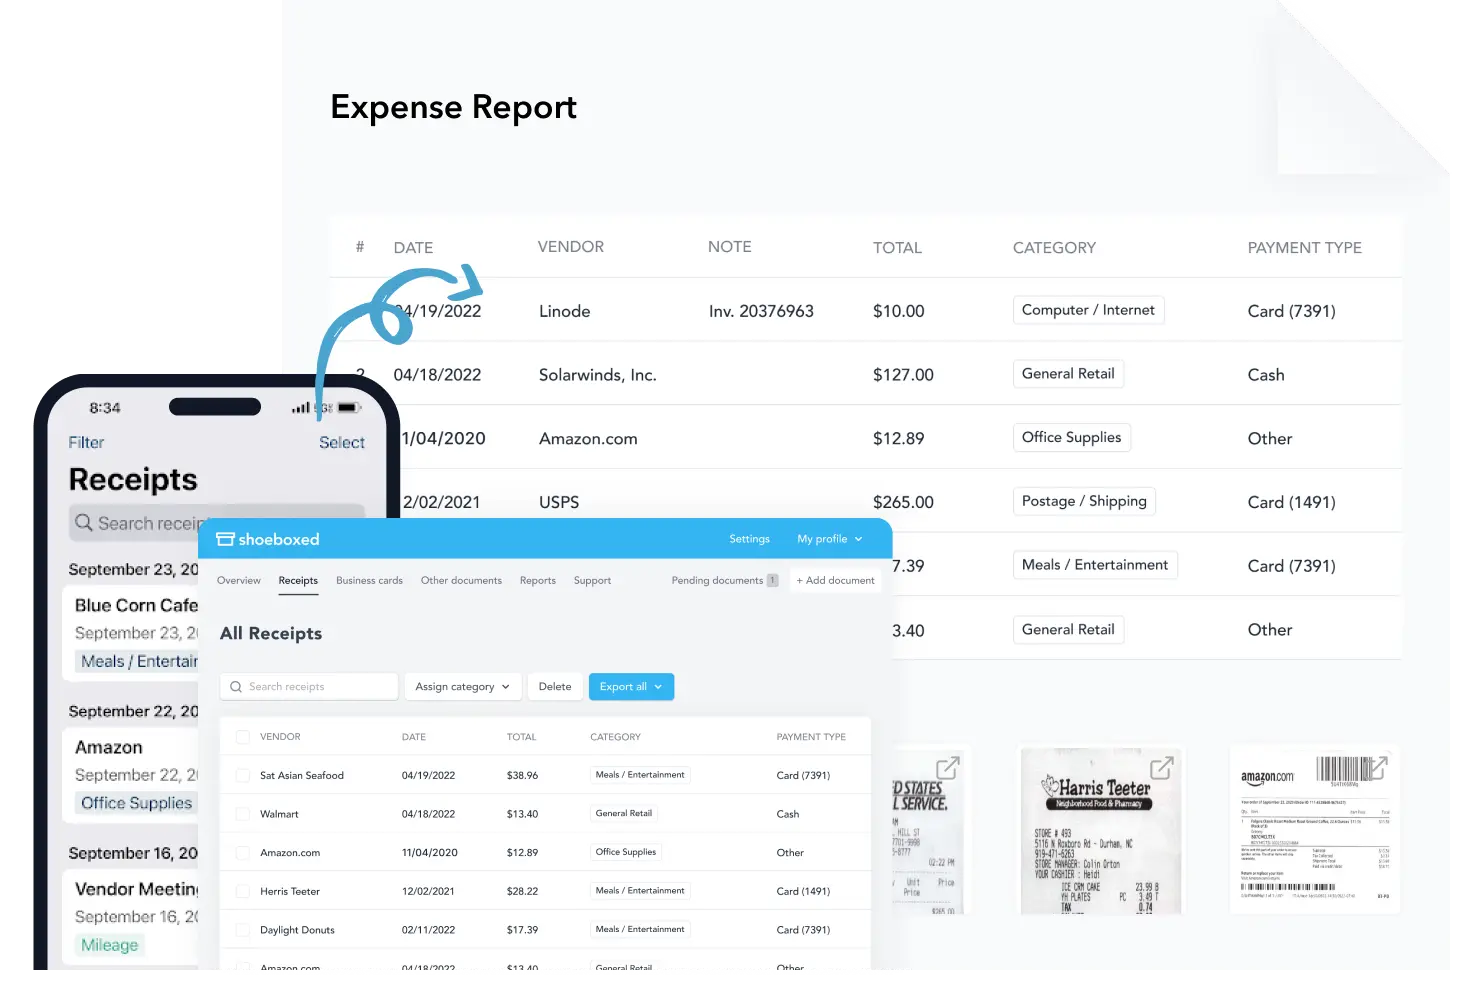
Expense reports let you view all of your expenses in one cohesive document. They also make it simple to share your purchases with your accountant.
You can also choose certain types of receipts to include in your expense report. Just select the receipts you want to export and click “export selected.”
d. Search and filter
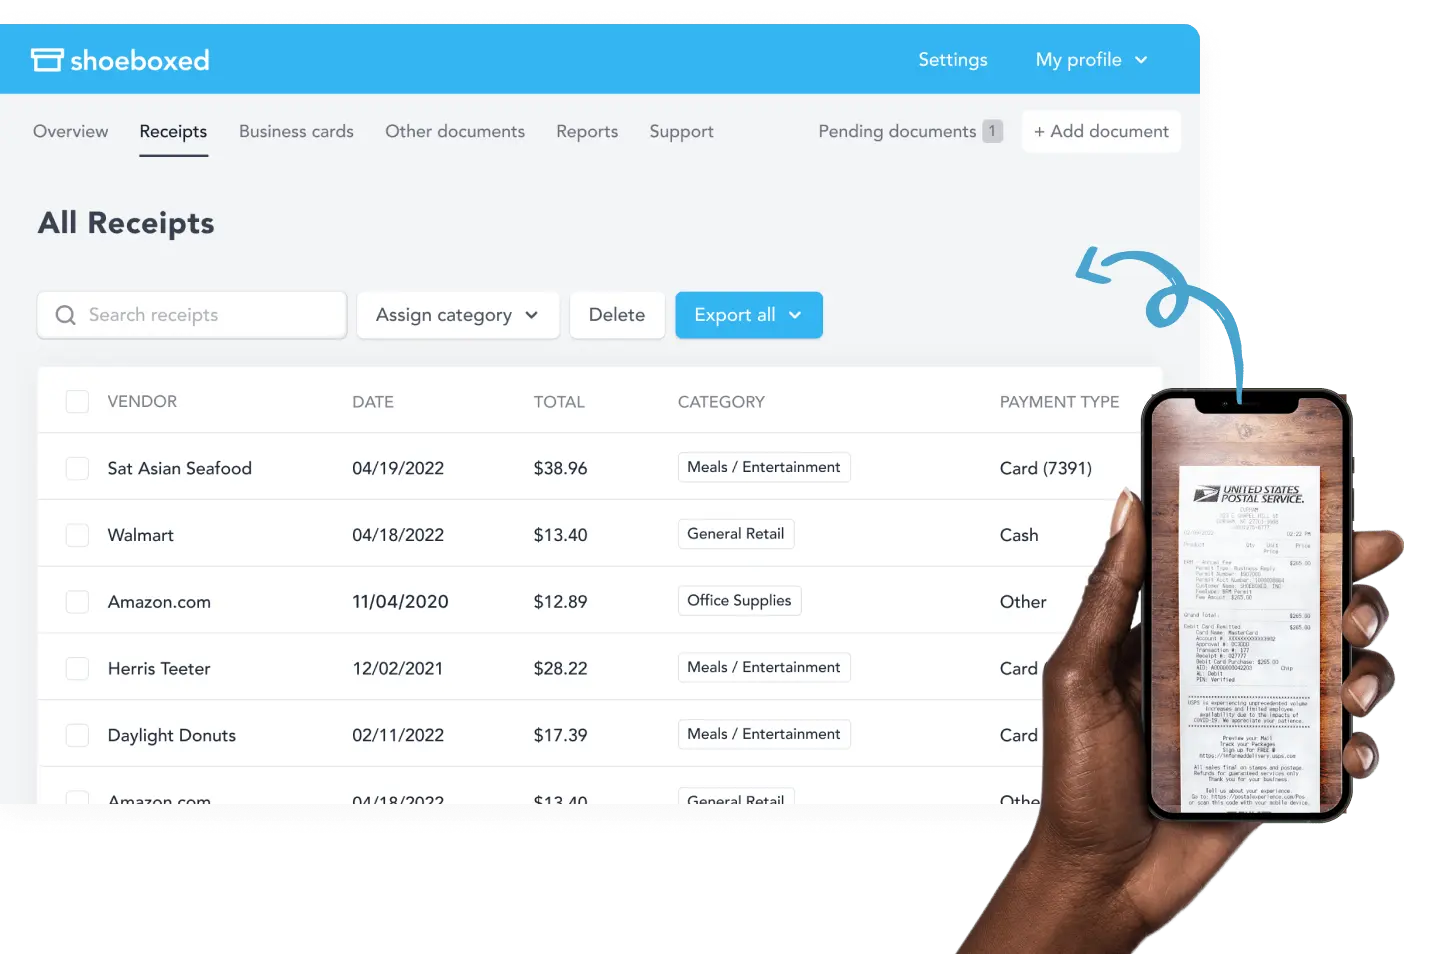
Call up any receipt or warranty in seconds with advanced search features.
Filter receipts based on vendors, date, price, currency, categories, payment type, and more.
e. Accounting software integrations
Export expenses to your accounting software in just a click.
Shoeboxed integrates with 12+ apps to automate the tedious tasks of life, including QuickBooks, Xero, and Wave Accounting.
f. Unlimited number of free sub-users
Add an unlimited number of free sub-users to your account, such as family members, employees, accountants, and tax professionals.
g. Mileage tracker for logging business miles
After you sign up for Shoeboxed, you can start tracking miles in seconds:
Open the Shoeboxed app.
Tap the “Mileage” icon.
Click the “Start Mileage Tracking” button.
And drive!
Whenever you start a trip, Shoeboxed tracks your location and miles and saves your route as you drive.

As you make stops at stores and customer locations, you can drop pins to make tracking more precise.
At the end of a drive, you’ll click the “End Mileage Tracking” button to create a summary of your trip. Each summary will include the date, editable mileage and trip name, and your tax deductible and rate info.
Click “Done” to generate a receipt for your drive and get a photo of your route on the map. Shoeboxed will automatically categorize your trip under the mileage category in your account.
h. The Magic Envelope
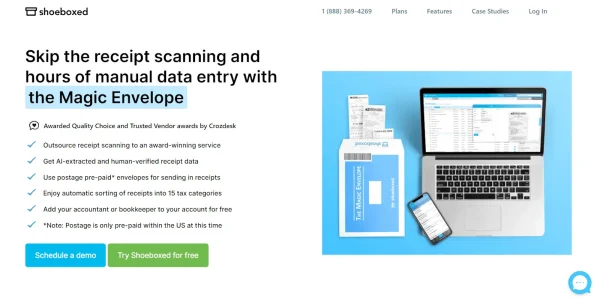
Outsource your receipt scanning with the Magic Envelope!
The Magic Envelope service is one of Shoeboxed's most popular features, particularly for businesses, as it lets users outsource receipt management.
When you sign up for a plan that includes the Magic Envelope, Shoeboxed will mail you a pre-paid envelope for you to send your receipts in.
Once your receipts reach the Shoeboxed facility, they’ll be digitized, human-verified, and tax-categorized in your account.
Have your own filing system?
Shoeboxed will even put your receipts under custom categories. Just separate your receipts with a paper clip and a note explaining how you want them organized!
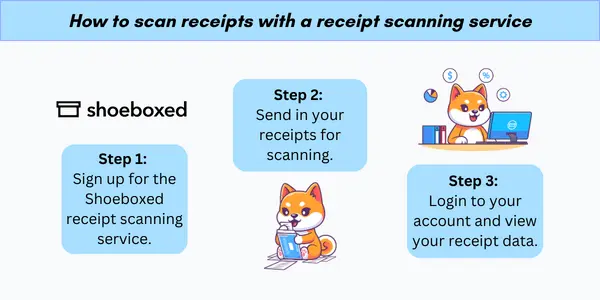
Turn receipts into data for tax time ✨
Try Shoeboxed’s systematic award-winning approach to receipt tracking for tax season. Try free for 30 days!
Get Started TodayHow to create a basic expense report
A well-organized expense report in Google Sheets ensures accurate and efficient financial tracking.
By following these straightforward steps, one can establish a custom expense report suited for individual or business needs.
1. Set up the spreadsheet
The initial step involves opening Google Sheets and either choosing a predefined template or creating a new spreadsheet.
Choose between a monthly expense report template or a weekly expense report template, depending on your bookkeeping cadence.
For a custom report, one should start by labeling the first row with headings that will organize the data, such as Type of Expense, Payment Date, Category, Amount, and Notes (expense details section).
2. Create expense categories
Defining clear expense categories is crucial to tailor the report for specific expense monitoring.
These categories could be as diverse as Travel, Accommodation, Meals, Transportation, and Miscellaneous. They should be listed down the first column or in a drop-down menu for efficient data entry and categorization.
By customizing your expense categories, you can tailor your expense spreadsheets to your specific industry. For example, check out the following spreadsheets for truckers, Airbnb hosts, lawn care specialists, real estate agents, etc.
3. Make date and amount columns
Subsequent columns should be dedicated to the date of the expense and the amount spent.
Format the date column to ensure consistency (e.g., MM/DD/YYYY), and the amount column should be formatted as currency.
To maintain clarity, each expense entry should be in a new row with the corresponding date and amount.
What are some advanced features to add to an expense report template in Google Sheets?
Google Sheets offers robust capabilities to enhance the efficiency and precision of expense report management.
1. Automate calculations
Google Sheets simplifies the expense reporting process with automatic calculations.
Users can apply functions like SUM to tally expenses, or AVERAGE to find the mean expense amount over a period.
Array formulas can automatically update calculations across ranges when new entries are added, reducing the need for manual updates.
2. Integrate formulas
Using integrated formulas, expense reports become dynamic and adaptable.
For example, the VLOOKUP or INDEX MATCH functions help categorize expenses, pulling data from predefined categories.
Expense trackers can also utilize conditional formatting to highlight anomalies or overages, and custom scripts offer possibilities for personalized automation and enhanced reporting features.
3. Create charts and graphs
To create a chart in Google Sheets, one selects the relevant data and navigates to the Insert menu, choosing Chart.
This action generates a chart that can be customized to suit different needs.
For example, they may use a pie chart to visualize the proportion of categories within total expenses or a line chart to observe spending trends over time.
4. Add data insights
Gleaning insights from expenses incurred hinges on the effective use of features like Pivot Tables and Conditional Formatting.
The user can employ pivot tables to summarize large data sets and uncover patterns, such as identifying the highest expense categories.
Conditional formatting can be applied to spotlight outliers or expenses exceeding a certain threshold.
5. Set permissions
Google Sheets ensures that users can control who accesses the expense report by setting permissions.
Users can assign different levels of access—view, comment, or edit—to team members based on their roles.
For example, an employee might have edit access to input their expenses, while a manager might only need view access to approve the report.
To set permissions, one goes to the ‘Share’ button on the upper right and then selects specific people to share the document with, choosing their respective permission levels from the dropdown.
See also: Digital Technology Transforms Sam’s Club Receipt Policies
What are some best practices for creating expense report templates?
When managing finances using a Google Sheets expense report template or an Excel business expenses template, precision and consistency are key. Implementing best practices ensures the data's integrity, streamlining the expense tracking process.
1. Validate early and often
Data validation is essential for maintaining accuracy in an expense report.
Utilizing dropdown menus and predefined formats within Google Sheets can limit data entry errors.
For instance, setting up categories for expenses such as travel, meals, and office supplies, helps in organizing expenses effectively.
The addition of data validation rules reduces the likelihood of miscategorization and typos.
Some templates, like those provided by Smartsheet, come with these features built-in, enhancing data consistency.
2. Update regularly
Maintaining a Google Sheets expense report template requires regular updates.
It’s important to record transactions as soon as they occur to keep the financial records up-to-date.
This practice not only assists in accurate bookkeeping but also allows for real-time budgeting and financial analysis.
Never lose a receipt again 📁
Join over 1 million businesses organizing & scanning receipts, creating expense reports, and reclaiming multiple hours every week—with Shoeboxed.✨
Get Started TodayIn closing
An expense report template in Google Docs is a great way to keep your business on track and sticking to a company budget.
There are many free templates that businesses can use, including tax expense spreadsheets. However, simply having a template doesn't mean that it will be used. Drawbacks of a template-based approach include the need for manual data entry, which may prevent employees from turning in reports in a timely manner.
If you've struggled in the past with tracking down receipts and getting employees to do their expense reports and are ready to save time and effort, consider using Shoeboxed! Free up your employees to work on high-level tasks instead of inputting expenses!
Tomoko Matsuoka is the managing editor for Shoeboxed, MailMate, and other online resource libraries. She covers small business tips, organization hacks, and productivity tools and software.
About Shoeboxed!
Shoeboxed is a receipt scanning service with receipt management software that supports multiple methods for receipt capture: send, scan, upload, forward, and more!
You can stuff your receipts into one of our Magic Envelopes (prepaid postage within the US). Use our receipt tracker + receipt scanner app (iPhone, iPad and Android) to snap a picture while on the go. Auto-import receipts from Gmail. Or forward a receipt to your designated Shoeboxed email address.
Turn your receipts into data and deductibles with our expense reports that include IRS-accepted receipt images.
Join over 1 million businesses scanning & organizing receipts, creating expense reports and more—with Shoeboxed.
Try Shoeboxed today!


