An expense tracker template in Google Sheets enables users to record and categorize their expenditures systematically. This allows individuals and businesses to gain valuable insights into their spending habits.
Users can customize these templates according to their specific needs, whether they're tracking monthly household expenses, freelancing income, or corporate finances.
What's more, Google Sheets allows for real-time collaboration and access from any device with an internet connection, making it a versatile expense management solution.
We've gathered the top 5 free Google Sheets expense tracker templates along with 1 bonus service you won't want to miss!
Top 5 Free Google Sheets Expense Tracker Templates
The following five free templates are among the best Google Sheets expense trackers available for easy and efficient expense tracking without any cost.
1. The Measure of a Plan's Budget Tracking Tool for Google Sheets
This template is extensive, with various tabs that help to divide up the various financial elements. Users can use this to get a handle on fixed and variable expenses, monitor income, and keep a close eye on personal finances every month.
We suggest reading the explanation of how to use this Google Sheets expense tracker, which can be found on the first tab.

2. Business Expense Tracker Template for Google Sheets by Smartsheet
Tailored for business use, this template helps companies track expenses with categories suitable for various business needs. It streamlines financial overviews and eases the process of reporting and analyzing company expenditures.

To use this template, open Google Sheets, go to File, and click Make a copy. It will then be saved in your Google Drive.
See also: Company Expenses Template: 4 Free Expense Templates + Bonus
3. Deborah Ho's Expense Tracker for Google Sheets with Monthly or Weekly Overview
Deborah Ho provides a user-friendly expense tracker focused on personal finances. Its intuitive design simplifies logging expenses and visualizes spending patterns, helping individuals stay accountable for their financial goals.
Ho provides a few different templates to choose from, depending on whether you prefer monthly or weekly tracking.

4. Personal Monthly Expense Tracker for Google Sheets
Ideal for monthly budgeting, the template delivers a clear snapshot of a user's monthly financial activities. It differentiates between various types of expenses and incomes, providing a straightforward overview and promoting better financial management.

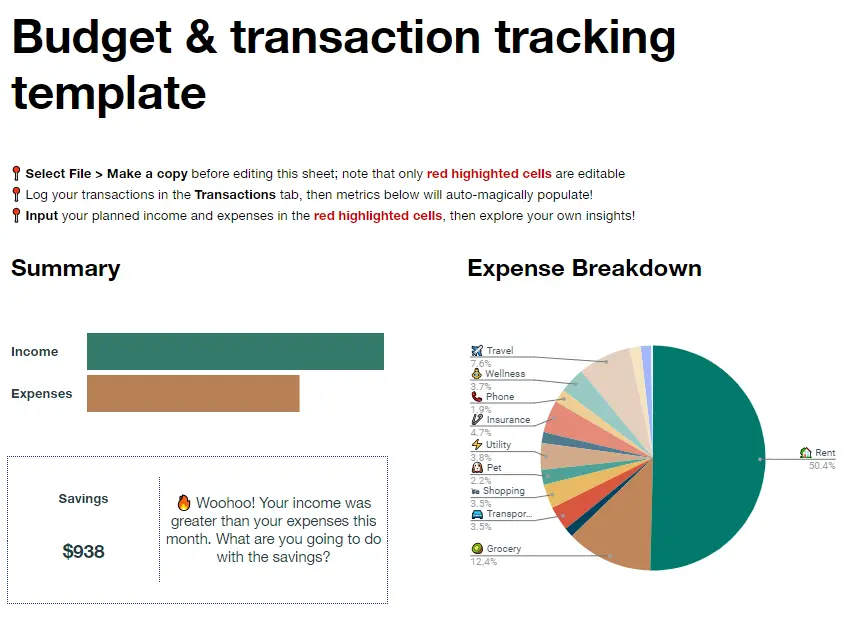
5. Google Sheet Budget & Transaction Tracking Template
For those seeking a nice graphical element to tracking spending, this Budget & Transaction Template might be a good fit. You log your expenses income and expenses in the second tab, and the overview appears in the first tab.
Bonus: Shoeboxed, a great alternative to manual spreadsheets
Don't want to track expenses manually? We hear you. While some people thrive on using business expense tracking spreadsheets, others might prefer a more automated method.
If you'd like to forgo manual entry entirely, consider Shoeboxed!
With Shoeboxed's receipt scanner app, simply snap a picture and upload it to your Shoeboxed account, and Shoeboxed's team will extract and verify the expense data from your receipts, assigning the expense one of 15 common tax categories.
For those who want an even easier method for getting receipts in their accounts, Shoeboxed's Magic Envelope service does just that.

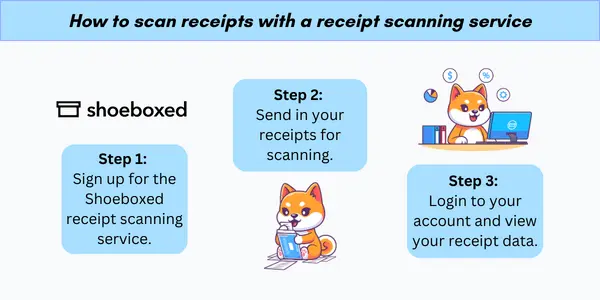
Simply stuff your receipts into Shoeboxed's postage-prepaid envelopes and outsource receipt scanning to the pros.
Shoeboxed is the only receipt scanner app that will handle both your paper receipts and your digital receipts—saving customers up to 9.2 hours per week from manual data entry!
Break free from manual data entry ✨
Use Shoeboxed’s Magic Envelope to ship off your receipts and get them back as scanned data in a private, secure cloud-based account. 📁 Try free for 30 days!
Get Started TodayWhat else can Shoeboxed do?
Shoeboxed has been voted as the best receipt scanner app for tax season by Hubspot and given the Trusted Vendor and Quality Choice awards by Crozdesk.
A quick overview of Shoeboxed's award-winning features:
a. Mobile app and web dashboard
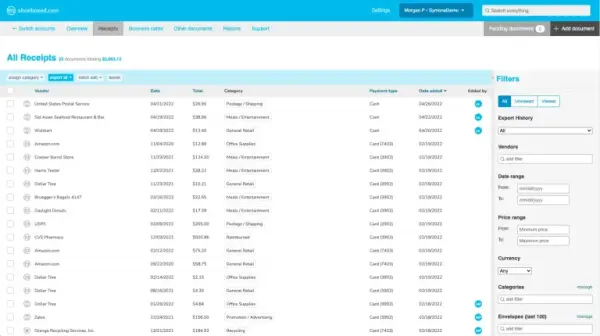
Shoeboxed's dashboard.
Shoeboxed’s mobile app lets you snap photos of paper receipts and upload them to your account right from your phone.
Shoeboxed also has a user-friendly web dashboard to upload receipts, warranties, contracts, invoices, and other documents from your desktop.
b. Gmail receipt sync feature for capturing e-receipts
Importing e-receipts to your Shoeboxed account is as easy as syncing your Gmail with Shoeboxed, using Shoeboxed's special Gmail Receipt Sync feature.
Shoeboxed’s Gmail Receipt Sync grabs all receipt emails and sends them to your account for automatic processing! These receipts are then labeled as Sent to Shoeboxed in your Gmail inbox.
In short, Shoeboxed pulls the receipt data from your email, including the vendor, purchase date, currency, total, and payment type, and organizes it in your account.
Your purchases will even come with images of the receipts attached!
c. Expense reports
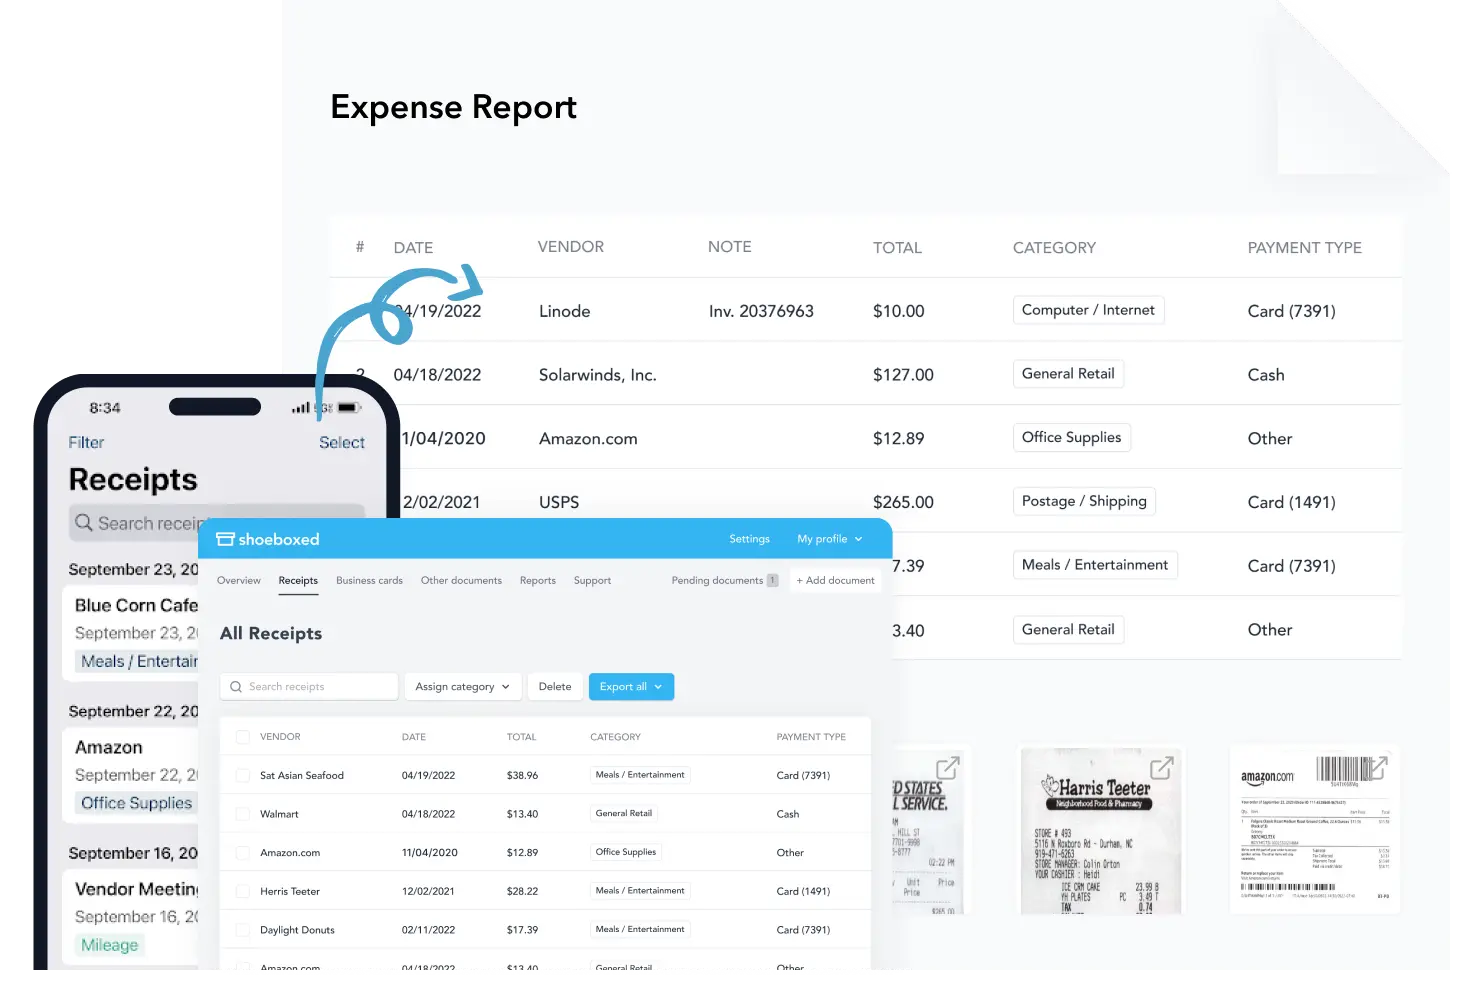
Expense reports let you view all of your expenses in one cohesive document. They also make it simple to share your purchases with your accountant.
You can also choose certain types of receipts to include in your expense report. Just select the receipts you want to export and click “export selected.”
d. Search and filter
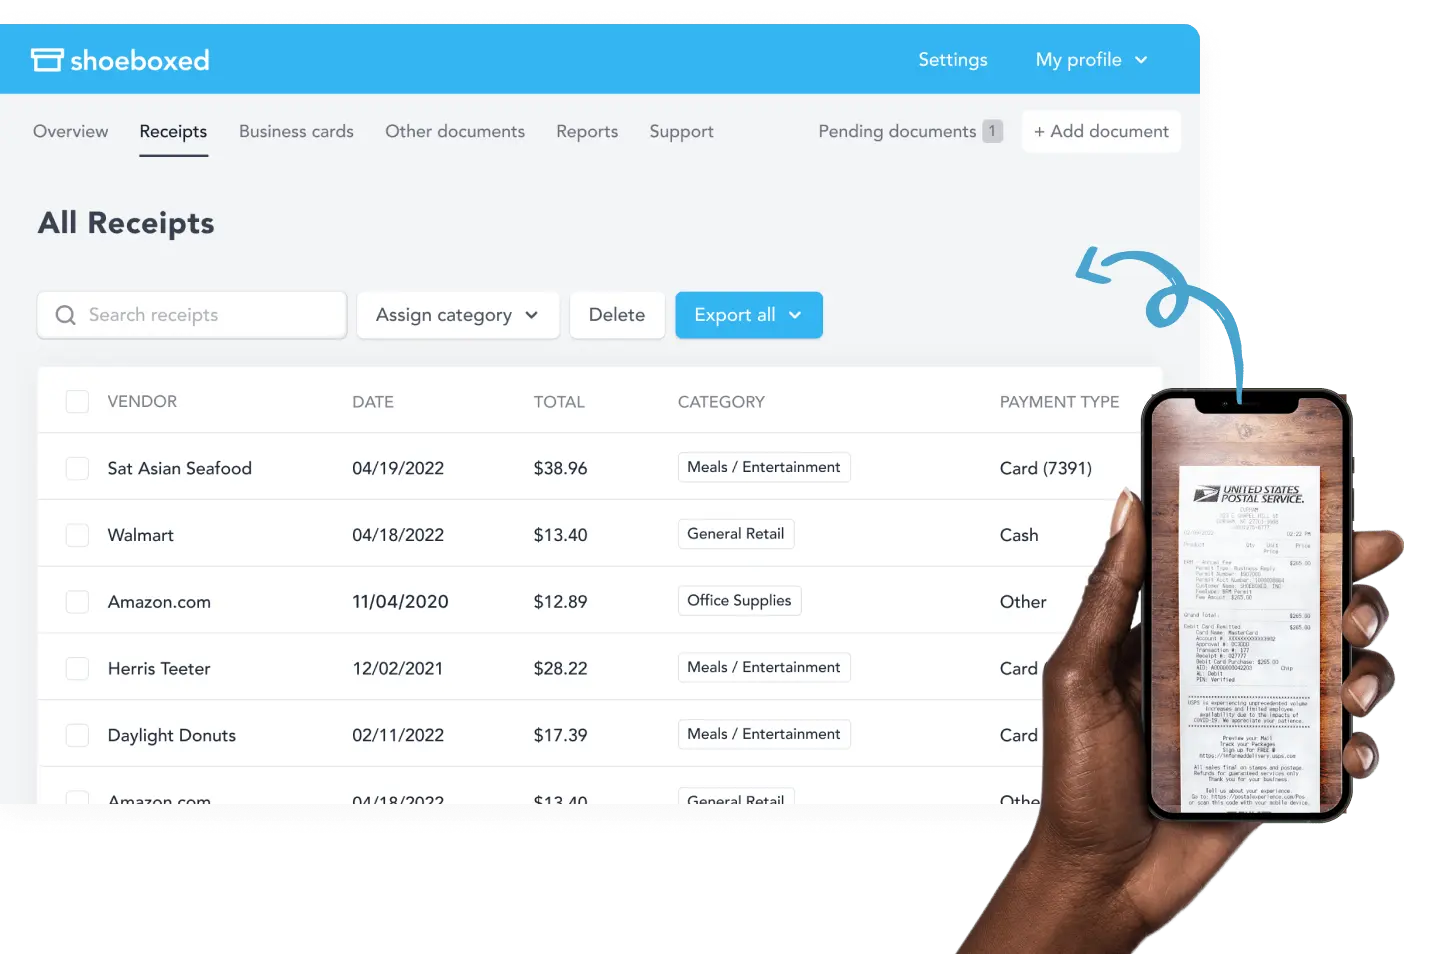
Call up any receipt or warranty in seconds with advanced search features.
Filter receipts based on vendors, date, price, currency, categories, payment type, and more.
e. Accounting software integrations
Shoeboxed integrates with 12+ apps to automate the tedious tasks of life, including QuickBooks, Xero, and Wave Accounting.
f. Unlimited number of free sub-users
Add an unlimited number of free sub-users to your account, such as family members, employees, accountants, and tax professionals.
g. Mileage tracker for logging business miles
After you sign up for Shoeboxed, you can start tracking miles in seconds:
Open the Shoeboxed app.
Tap the “Mileage” icon.
Click the “Start Mileage Tracking” button.
And drive!
Whenever you start a trip, Shoeboxed tracks your location and miles and saves your route as you drive.

As you make stops at stores and customer locations, you can drop pins to make tracking more precise.
At the end of a drive, you’ll click the “End Mileage Tracking” button to create a summary of your trip. Each summary will include the date, editable mileage and trip name, and your tax deductible and rate info.
Click “Done” to generate a receipt for your drive and get a photo of your route on the map. Shoeboxed will automatically categorize your trip under the mileage category in your account.
h. The Magic Envelope
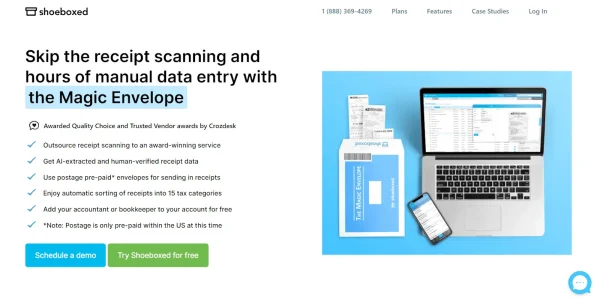
Outsource your receipt scanning with the Magic Envelope!
The Magic Envelope service is one of Shoeboxed's most popular features, particularly for businesses, as it lets users outsource their receipt management.
When you sign up for a plan that includes the Magic Envelope, Shoeboxed will mail you a pre-paid envelope for you to send your receipts in.
Once your receipts reach the Shoeboxed facility, they’ll be digitized, human-verified, and tax-categorized in your account.
Have your own filing system?
Shoeboxed will even put your receipts under custom categories. Just separate your receipts with a paper clip and a note explaining how you want them organized!
Turn receipts into data for tax time ✨
Try Shoeboxed’s systematic award-winning approach to receipt tracking for tax season. Try free for 30 days!
Get Started TodayHow to use Google Sheets for expense tracking
Managing finances effectively requires a robust system, and Google Sheets provides an accessible platform for tracking expenses. It allows users to document their spending patterns thoroughly and forecast their financial health with tailored templates.
1. Creating your first expense tracker
To create an expense tracker using Google Sheets, users can begin with a template tailored to their financial tracking needs. Here's how to start:
Open Google Sheets.
Go to File > New > From template gallery.
Select a template from the Personal section, such as the Monthly Budget template to jumpstart your expense tracking.
Customizing an expense tracker in Google Sheets allows users to adapt it to their specific financial monitoring needs. By utilizing the built-in functions and focusing on usability, users can create a personalized financial tool that is both effective and easy to use.
For example, expense spreadsheets can also be fully tailored to specific industries, such as for trucking businesses, Airbnb vacation rentals, lawn care services, realtors, and more.
2. Using built-in functions
Google Sheets offers a variety of built-in functions that are essential for customizing an expense tracker.
For instance, the SUM function can aggregate costs entered across different categories to calculate monthly expenses. Using the FILTER function, users can display only transactions that meet certain criteria, such as expenses above a set threshold or within a specific category.
For those who need to visualize their spending patterns over time, the SPARKLINE function can create mini charts within a cell to provide a quick graphical representation. Additionally, conditional formatting can be applied to highlight outliers, such as unusually high expenses.
Within the realm of the best free Google Sheets expense tracker templates, many come with these functions pre-built. Users can simply input or adapt the existing formulas to match their data structure.
3. Designing for usability
When customizing an expense tracker, the primary goal is to design for usability. This means setting up a logical structure that is easy to follow and minimizes the potential for data entry errors. Users should consider the following:
Layout: A clear and concise layout is crucial. Group similar expense categories together and use borders or shading to distinguish different sections.
Dropdown menus: Using data validation to create dropdown menus for categories prevents inconsistent entries and speeds up the data entry process.
Instructions: Insert brief instructions or comments within the sheets to guide users in using the expense tracker effectively.
Protect cells: It is advisable to protect cells to prevent accidental overwrites, especially in cells that contain formulas.
4. Maintaining data accuracy
Users should establish a regular schedule for updating their expense tracker. This could mean inputting data daily, weekly, or immediately after a transaction—based on personal preference and convenience. Adherence to a consistent routine minimizes the risk of omissions and inaccuracies.
Google Sheets allows for data validation rules to be set to restrict entries to specific formats or ranges.
Implementing dropdown lists for categories can also help standardize entries and simplify data analysis down the line.
See also: Expense Log Printable: 5 Free Templates to Budget Better
Advanced Google Sheets features for expense management
In modern expense tracking, advanced features like integration with financial tools and data entry automation are pivotal. They not only streamline the process but also provide enhanced accuracy and real-time financial insights.
1. Integrating with financial tools
Google Sheets expense tracker templates can be connected with various financial tools and services. This integration allows for seamless synchronization of financial data from bank accounts, credit cards, and online payment platforms.
Users can, for example, link their expense tracker with accounting software to transfer data directly into their sheets. This is typically done by going to Extensions, clicking on Add-ons, and then Get Add-ons.
2. Automating data entry
The ability to automate data entry is a significant efficiency booster. Google Sheets can utilize scripts or add-ons to automatically populate fields with expense data, minimizing the need for manual input.
For instance, users can set up an automatic import of transaction data from bank statements or receipts using optical character recognition (OCR) technology. This reduces the time spent on data entry and minimizes the potential for human error.
3. Analyzing expenses with Google Sheets
Google Sheets provides robust features that can transform raw expense data into insightful analyses. Users can leverage visual tools and trend analysis techniques to gain a deeper understanding of their financial habits.
4. Creating visualizations
In Google Sheets, users can visually represent their expenses by generating charts and graphs.
Pie charts, for instance, provide a quick overview of how expenses are distributed across various categories. To create a pie chart, one can select the relevant dataset, click on the 'Insert' menu, and choose 'Chart'.
Within the Chart Editor, Bar graphs and Line charts can also illustrate spending over time or compare costs between different categories.
5. Identifying spending trends
Analyzing spending trends allows users to identify patterns in their expenses.
Using built-in functions such as AVERAGE, MEDIAN, or TREND, one can calculate average spending or median costs or even forecast future expenses.
With conditional formatting, Google Sheets can automatically highlight outliers or trends in data, such as unusually high spending in a particular month. This helps users recognize areas where they may need to adjust their budgets.
See also: Home Expenses Template: Top 3 Free Templates + Bonus Service
Frequently asked questions
How does one get started with a Google Sheets expense tracker template?
To begin, users can access a variety of templates by opening Google Sheets, navigating to File → New → From template gallery, and selecting a preferred template under the Personal section.
Are there Google Sheets templates that can track both expenses and budget?
Google Sheets offers templates that allow users to track their expenses alongside their budget. These templates provide features such as setting an overall monthly budget calendar, a budgeting spreadsheet, or a budget for each expense category.
What options are available for small business expense tracking?
There are specialized Google Sheets templates designed for small businesses. These templates help in organizing and giving a comprehensive view of business finances by categorizing expenses and comparing budgeted and actual amounts.
In closing
Utilizing an expense tracker template helps individuals and businesses monitor expenses.
Whether one chooses a weekly or a monthly expense tracker or an automated solution, the outcome is transparency and control over one's financial landscape.
Expense trackers—whether in spreadsheet or app form—are tools that provide financial clarity and peace of mind, empowering users to make informed decisions about their money.
Tomoko Matsuoka is managing editor for Shoeboxed, MailMate, and other online resource libraries. She covers small business tips, organization hacks, and productivity tools and software.
About Shoeboxed!
Shoeboxed is a receipt scanning service with receipt management software that supports multiple methods for receipt capture: send, scan, upload, forward, and more!
You can stuff your receipts into one of our Magic Envelopes (prepaid postage within the US). Use our receipt tracker + receipt scanner app (iPhone, iPad and Android) to snap a picture while on the go. Auto-import receipts from Gmail. Or forward a receipt to your designated Shoeboxed email address.
Turn your receipts into data and deductibles with our expense reports that include IRS-accepted receipt images.
Join over 1 million businesses scanning & organizing receipts, creating expense reports and more—with Shoeboxed.
Try Shoeboxed today!


