Whether you’re a freelancer, small business owner, or just want to stay organized, knowing how to upload a receipt quickly can save you time and keep your finances in order.
This guide will walk you through the steps to upload a receipt so it’s accurate and easy to use across all platforms.
Why upload paper receipts?

Uploading receipts has many benefits:
1. Digital storage
Turning all your physical receipts into digital data keeps all your receipts in one place, and digital receipts are more convenient and take up less space than paper receipts. They can be easily organized and stored on your computer or mobile device.
2. Expense reporting
Uploaded receipts make it easy to track your expenses since, with most platforms, you can automatically generate expense reports.
3. Taxes
Uploaded receipts are easily organized into expense categories and expense reports. This makes a digital record for deductions and audits easily accessible.
4. Reimbursements
Uploaded receipts also make it easy to submit receipts for expenses. Digital receipts can be easily shared or submitted for expense claims.
A step-by-step guide to uploading a receipt
Here's an easy guide on uploading a receipt from almost any platform.
1. Choose a receipt management tool
Decide on the platform or tool you’ll use to upload and manage receipts.
Popular options include:
Expense tracking apps (e.g., Shoeboxed.)
Cloud storage solutions (e.g., Google Drive, Dropbox).
Accounting software
2. Capture the receipt
Most apps allow you to photograph the receipt using your phone’s camera. Select the camera icon to snap a photo of the receipt. Ensure the entire receipt is visible and legible. If you have a long receipt, take a picture of it further away.
If you can access a scanner, scan the receipt and save it as a PDF or image file.
3. Open the platform or app
Log into your chosen platform and navigate to the upload feature.
Look for an option labeled “Upload,” “Scan,” or “Add Receipt.”
4. Upload the receipt
Select the receipt file from your phone, tablet, or computer and upload it. Wait for the upload to complete (this should only take a few seconds).
Some apps like Shoeboxed allow you to photograph the receipt directly within the app for instant uploading.
5. Enter details (Optional)
Many platforms allow you to add extra information, such as:
Date of purchase.
Vendor name.
Expense category (e.g., travel, meals, office supplies).
Amount spent.
6. Save and organize digital receipts
After uploading, save the receipt. Organize it into folders or categories if your platform supports this feature.
For example:
Monthly folders (e.g., “January Expenses”).
Categories (e.g., “Business Meals,” “Office Supplies”).
Uploading paper receipts made easy with Shoeboxed
Shoeboxed is a tool for uploading and organizing receipts. Whether you’re tracking personal expenses, business finances, or for tax season, Shoeboxed makes uploading receipts easy and stores them safely in a digital format.

How to upload a receipt with Shoeboxed
Uploading a receipt with Shoeboxed is a straightforward process.
1. Download the Shoeboxed app
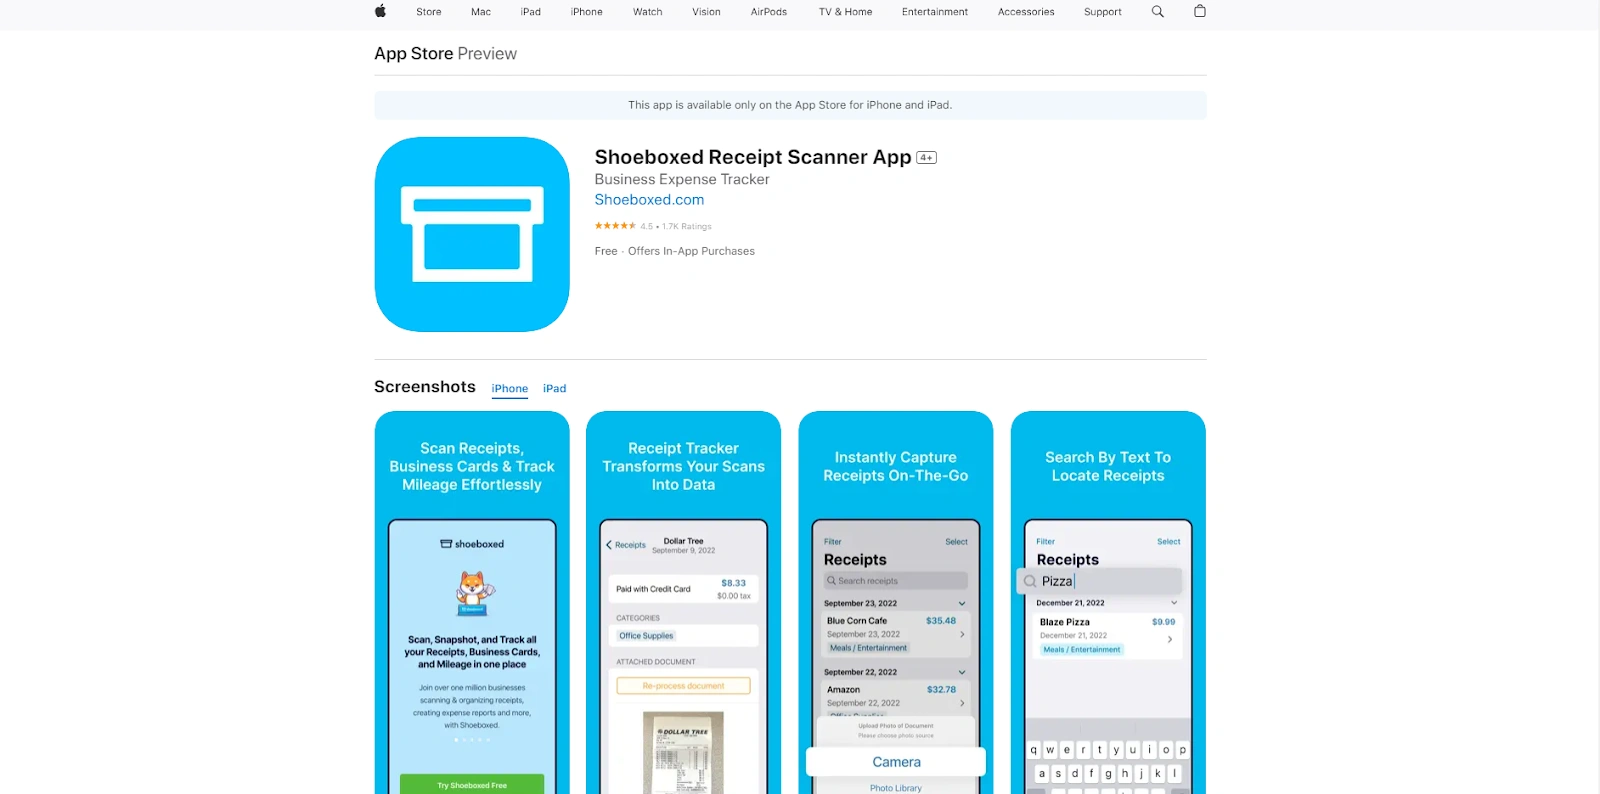
Download the Shoeboxed app on your mobile or access through a web browser on your laptop or desktop computer.
2. Take a picture of your receipt
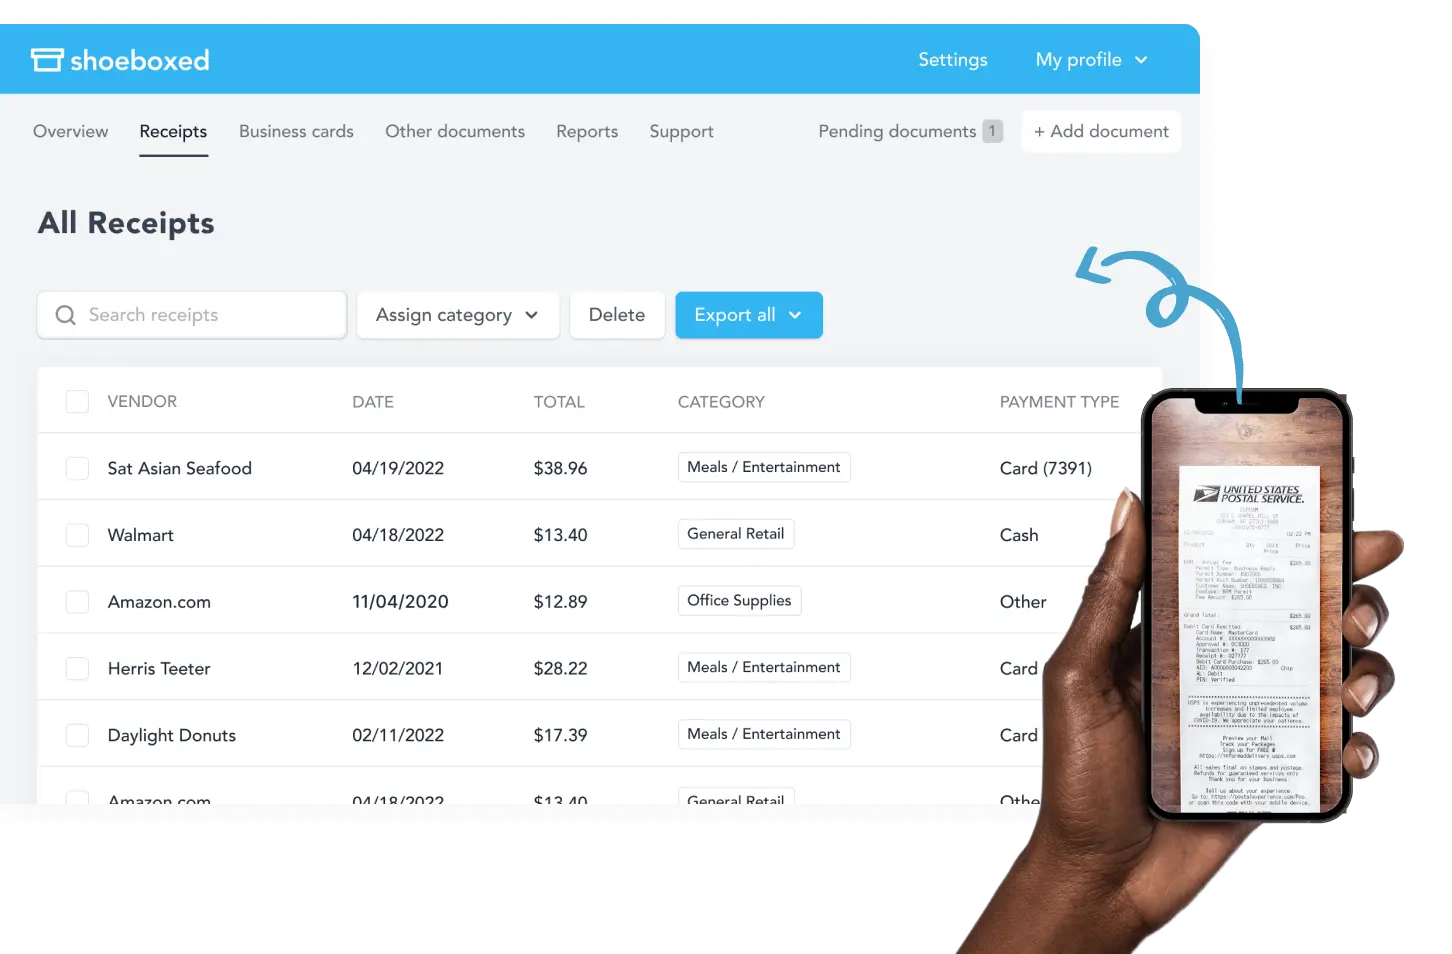
Open the app and use your phone's camera to take a clear photo of your receipt. Shoeboxed captures all the details like date, vendor, and amount.
3. Automatic uploading
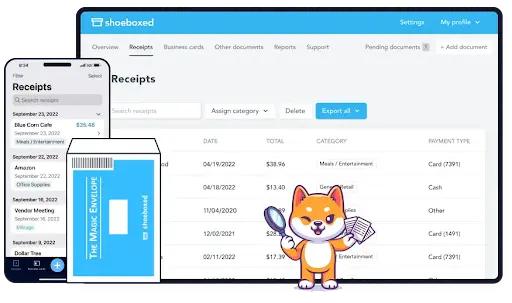
Once the photo is taken, Shoeboxed will upload the receipt to your account.
4. Handles multi-receipts
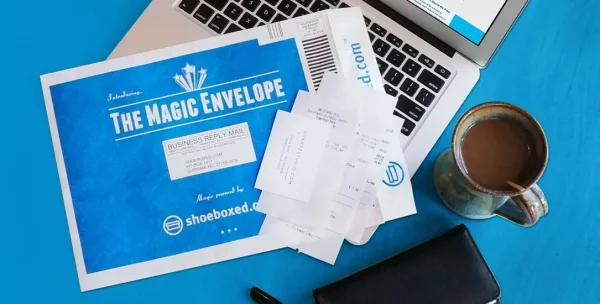
If you are overwhelmed with many receipts and don’t want to scan them yourself, Shoeboxed offers an outsourcing option. You can mail your receipts or documents to Shoeboxed using their free pre-paid Magic Envelope. They will scan, human-verify, and upload them to your account for you.
Shoeboxed is the only receipt scanner app that will handle both your paper receipts and your digital receipts—saving customers up to 9.2 hours per week from manual data entry!
Stop doing manual data entry 🛑
Outsource receipt scanning to Shoeboxed’s scanning service and free up your time for good. Try free for 30 days!✨
Get Started Today5. Auto categorizes
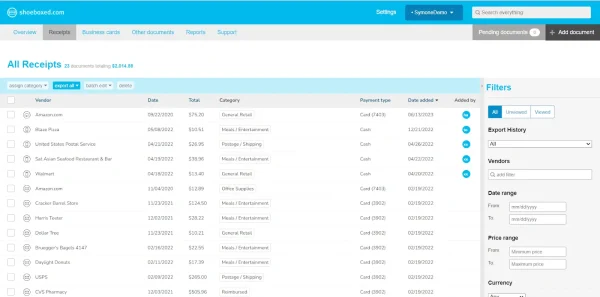
Shoeboxed uses OCR (Optical Character Recognition) to extract key data such as purchase date, vendor, and amount. Then, it will automatically categorize the receipt based on your predefined categories, saving you time.
6. Stores receipts with access anytime, anywhere
Shoeboxed stores your receipts in the cloud so you can access them from any device. Your records are always available when you need them.
Why upload with Shoeboxed?
By using Shoeboxed in your workflow, uploading receipts becomes a seamless, automated process that saves time by automatically organizing your receipts.
Here are some reasons to upload with Shoeboxed:
1. Efficiency
Shoeboxed extracts and categorizes data from receipts for you, eliminating manual entry and errors.
2. Compliance
Shoeboxed provides IRS-accepted digital receipt scans so your records meet audit requirements and tax regulations.
3. Multi-receipt uploads
You can upload multiple receipts simultaneously using the drag-and-drop method through the web desktop interface on your computer or submit them using the Magic Envelope, which is perfect for businesses with high-volume transactions.
4. Time saver
The platform has a “Magic Envelope” service where you can mail physical receipts to Shoeboxed, and they’ll digitize and upload them for you.
Example
You’re a freelancer with dozens of monthly receipts for office supplies, client meetings, and travel to submit.
Instead of manually organizing and storing paper receipts, you use Shoeboxed to:
Take a photo of each paper receipt as soon as you make a purchase.
Let the app categorize and store the receipts for you.
Access an organized archive when updating your expense report or filing taxes.
Whether you’re an individual or a business, Shoeboxed makes receipt management a breeze.
Never lose a receipt again 📁
Join over 1 million businesses organizing & scanning receipts, creating expense reports, and reclaiming multiple hours every week—with Shoeboxed.✨
Get Started TodayWhat are some best practices for uploading receipts?
Here are a few tips that will make uploading receipts a more efficient process:
1. Make sure they're legible
Ensure the paper receipt is readable and all the important bits (date, amount, vendor) are visible. Taking a clear picture of the receipt in a well-lit area is helpful.
2. Always have a backup
Use cloud storage so your receipts are safe and accessible anytime, anywhere.
3. Be consistent
Don’t let a backlog build up, upload as soon as possible after a purchase.
4. Automate
Use apps with OCR (Optical Character Recognition) to extract the info automatically.
5. Keep originals temporarily
Keep physical receipt until you confirm it’s been uploaded and backed up.
6. Organization
Organize your receipts by date, category, or account.
7. Storage
Use a designated folder or app to store your digital receipts.
8. Review
Regularly review and manage your receipts to keep your records up-to-date.
Frequently asked questions
Can I upload multiple receipts at once?
Yes, many platforms allow batch uploads where you can select and upload several receipts simultaneously for convenience.
Are digital copies of receipts acceptable for tax purposes?
In most cases, yes. Digital receipts are typically acceptable, like Shoeboxed’s, as long as they are clear, legible, and include all necessary details. Always check specific regulations in your region or consult a tax professional.
In conclusion
Uploading receipts is a simple yet effective way to stay organized and manage your finances. With the right tool like Shoeboxed and a consistent process, you can save time, reduce stress, and ensure you’re always prepared for audits, reimbursements, or tax filings.
Start uploading your receipts today and experience the benefits of a streamlined expense management system!
Caryl Ramsey has years of experience assisting in different aspects of bookkeeping, taxes, and customer service. She uses a variety of accounting software for setting up client information, reconciling accounts, coding expenses, running financial reports, and preparing tax returns. She is also experienced in setting up corporations with the State Corporation Commission and the IRS and is a contributing writer to SUCCESS magazine.
About Shoeboxed!
Shoeboxed is a receipt scanning service with receipt management software that supports multiple methods for receipt capture: send, scan, upload, forward, and more!
You can stuff your receipts into one of our Magic Envelopes (prepaid postage within the US). Use our receipt tracker + receipt scanner app (iPhone, iPad and Android) to snap a picture while on the go. Auto-import receipts from Gmail. Or forward a receipt to your designated Shoeboxed email address.
Turn your receipts into data and deductibles with our expense reports that include IRS-accepted receipt images.
Join over 1 million businesses scanning & organizing receipts, creating expense reports and more—with Shoeboxed.
Try Shoeboxed today!


