


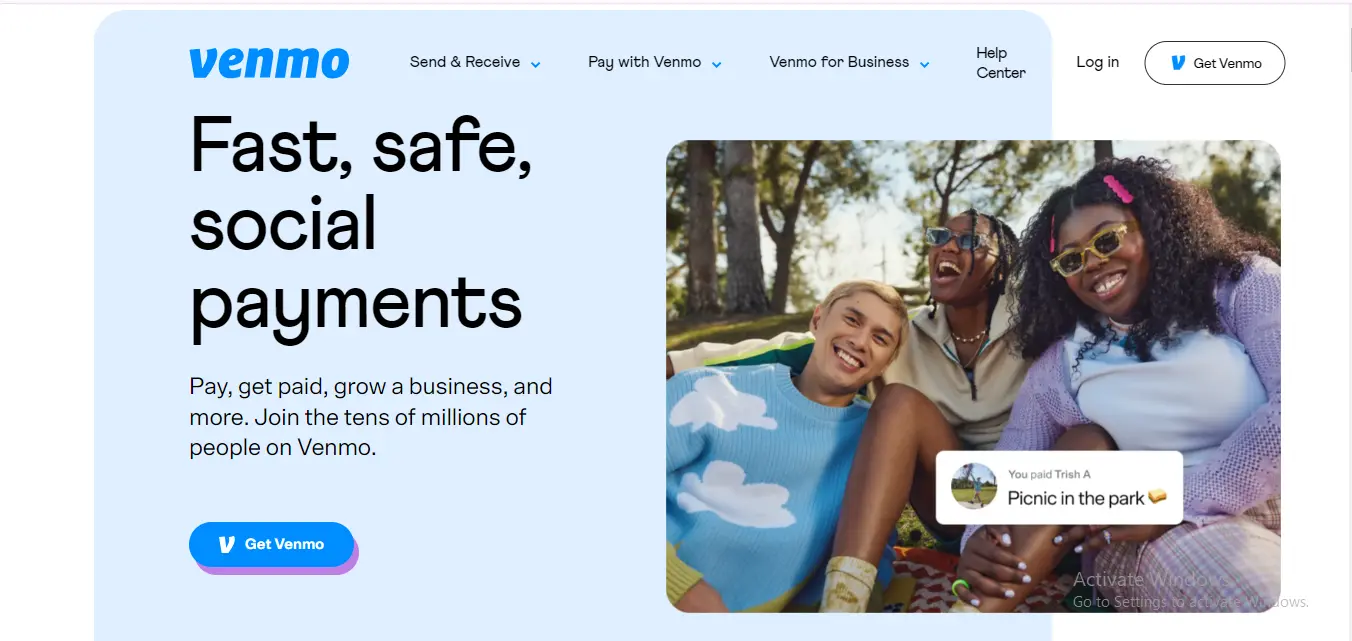
Using Venmo for business transactions is becoming increasingly popular among small businesses, freelancers, and service providers due to its convenience and widespread use.
However, important considerations and steps must be followed to ensure that using Venmo aligns with your business operations and compliance requirements.
How can you set up a Venmo account?
Setting up and managing a Venmo account is straightforward, whether for peer-to-peer or business transactions.
Step 1: Download the Venmo app
First, download the Venmo app from the Google Play Store or Apple App Store. Venmo is primarily a mobile app, though it offers some functionalities via its website.
Step 2: Create an account
You can sign up using your email address or by connecting your Facebook account. You'll need to enter basic information like your name, email address, and phone number.
Step 3: Verify your phone number
Venmo will send a code to your mobile device or phone to verify your number. This step is crucial for securing your account and recovering it if needed.
Step 4: Add a bank account or card
Link your bank account: You can directly link your bank account to Venmo using your account and routing numbers. Venmo will make small transfers to verify ownership.
Add debit or credit cards: Alternatively, you can link debit or credit cards to your Venmo account. Adding a bank account, however, is preferable for direct bank transfers without incurring potential credit card fees.
How can you send money through Venmo?
To send money, use the payment Tap “Pay or Request” button, choose a recipient from your contacts (or add a new one using their phone number, email, or username), enter the amount, and optionally add a note describing the transaction. Then, select whether you’re paying money or requesting money.
How can you generate a Venmo invoice?
You'll first need to set up a Venmo business profile to generate a Venmo invoice.
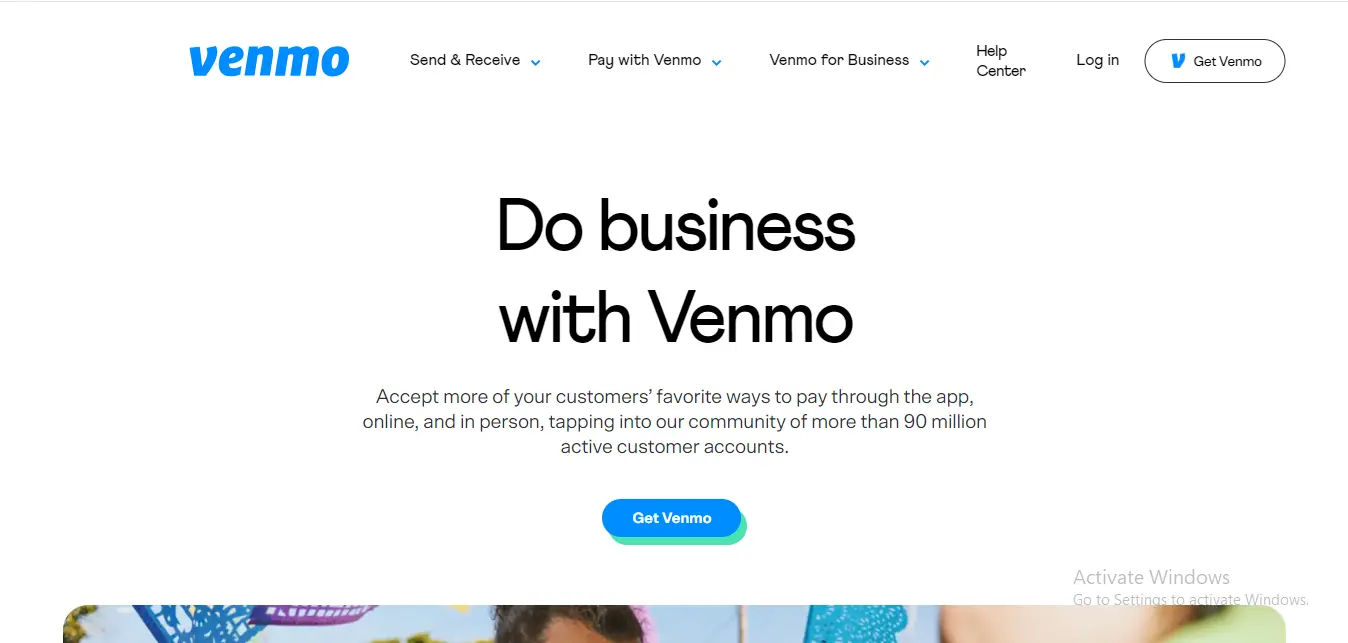
Create a Venmo business profile
Before creating a Venmo invoice, you must set up a Business Profile on Venmo. This is separate from your personal Venmo account but can be managed under the same login. Setting up a Business Profile allows you to receive payments professionally without mixing business and personal transactions.
Provide necessary business information, including the business name, type, and contact information. This detail will appear on your invoices and helps legitimize your payment requests online.
Generate and send a Venmo invoice
Access the invoicing feature: Once your Business Profile is set up, you can access the invoicing feature directly from your Venmo app.
Create an invoice: Input details about the services or products provided. You must include specifics such as the purchase quantity, price per item, and a brief description. Venmo allows you to customize the invoice by adding your business logo and other relevant details to represent your brand effectively.
Send the invoice: After creating it, you can send it directly to your client’s Venmo account if they are already Venmo users. If not, you can share the invoice link through email, SMS, or other messaging platforms. The client does not need a Venmo account to view the invoice.
How do you accept a Venmo payment?
Money sent to you will appear as a Venmo payment in your balance. You can keep it in Venmo for future transactions or transfer it to your linked bank account. Standard bank transfers are free and take 1-3 business days, while instant transfers incur transaction fees.
For business use, if you use Venmo as a business account, such as through a Venmo Business Profile, here's how to accept payments:
Step 1: Create a business profile
First, make sure you have set up a Venmo Business Profile through the app.
Step 2: Share your payment link or username
You can share contact info and your unique Venmo link or username with customers, or they can find you via the Venmo app. They'll use this information to initiate Venmo payments.
Step 3: Receive payments automatically
Similar to personal payments, any payments made to your Business Profile will automatically be added to your Venmo balance. Once you receive money, you'll also receive a notification for each transaction, which you can view in the app.
Step 4: Issue refunds if necessary
If you need to issue a refund, you can do this directly through the app by selecting the specific payment method and choosing the option to refund.
Step 5: Transfer funds
As with personal accounts, you can transfer your Venmo balance to your linked bank account. Remember that business profiles may have different options or bank transfer fees associated with transactions.
Step 6: Transfer limits
Remember that there may be bank transfer limits, especially for charities. That can vary depending on several factors, including the bank, the type of account, and specific regulations or policies that apply to non-profit organizations.
How can Shoeboxed turn a Venmo receipt into an expense report or tax deduction?
Shoeboxed is a versatile tool for digitizing and organizing receipts and other documents. It is highly suitable for managing Venmo receipts and different types of financial transactions.
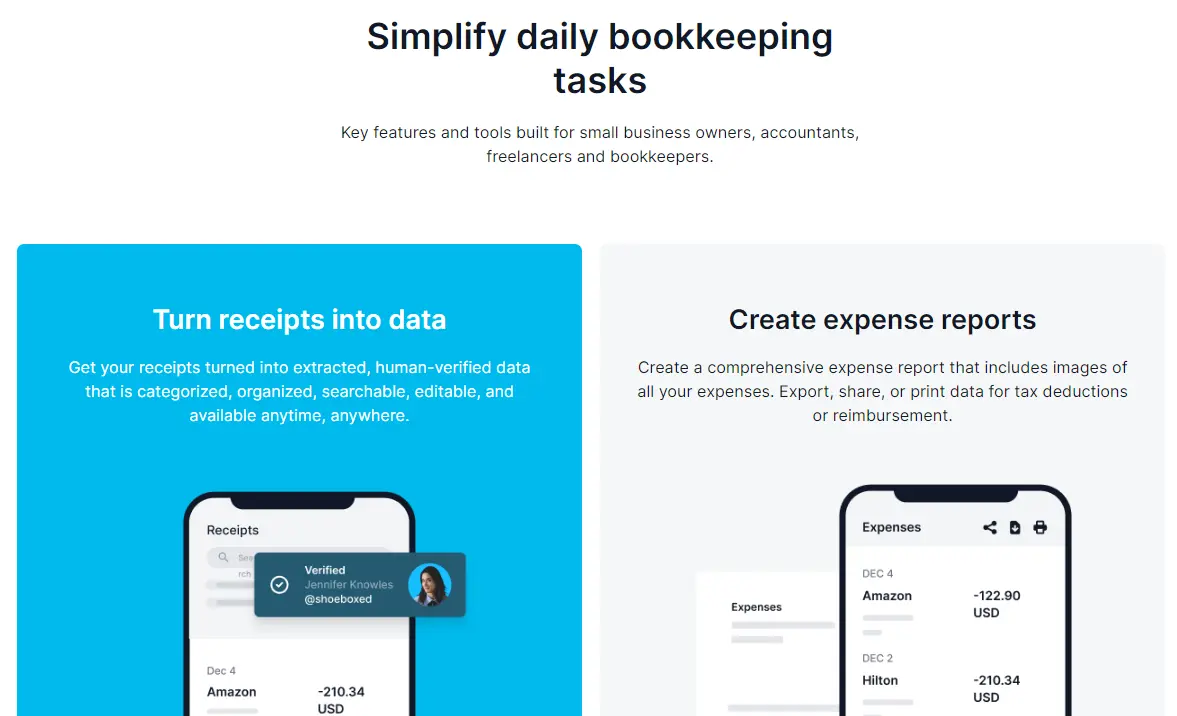
Shoeboxed extracts data from receipts, categorizes it, and automatically transforms it into expense reports that can be quickly and easily used for tax reporting.
Here's how Shoeboxed can effectively manage Venmo receipts for business or personal finance management:
How can you capture and record a Venmo receipt with Shoeboxed?
Shoeboxed is designed to capture and record critical data from receipts.
Digital receipts from Venmo
When you complete a transaction on Venmo, especially one involving goods or services, you typically receive a digital receipt via email or the app. These receipts contain details such as the amount, date, and the other party involved.
Manual upload

You can manually save your Venmo receipts as PDF files or screenshots and upload them directly to Shoeboxed. This can be done through the Shoeboxed web interface or mobile app.
Email forwarding
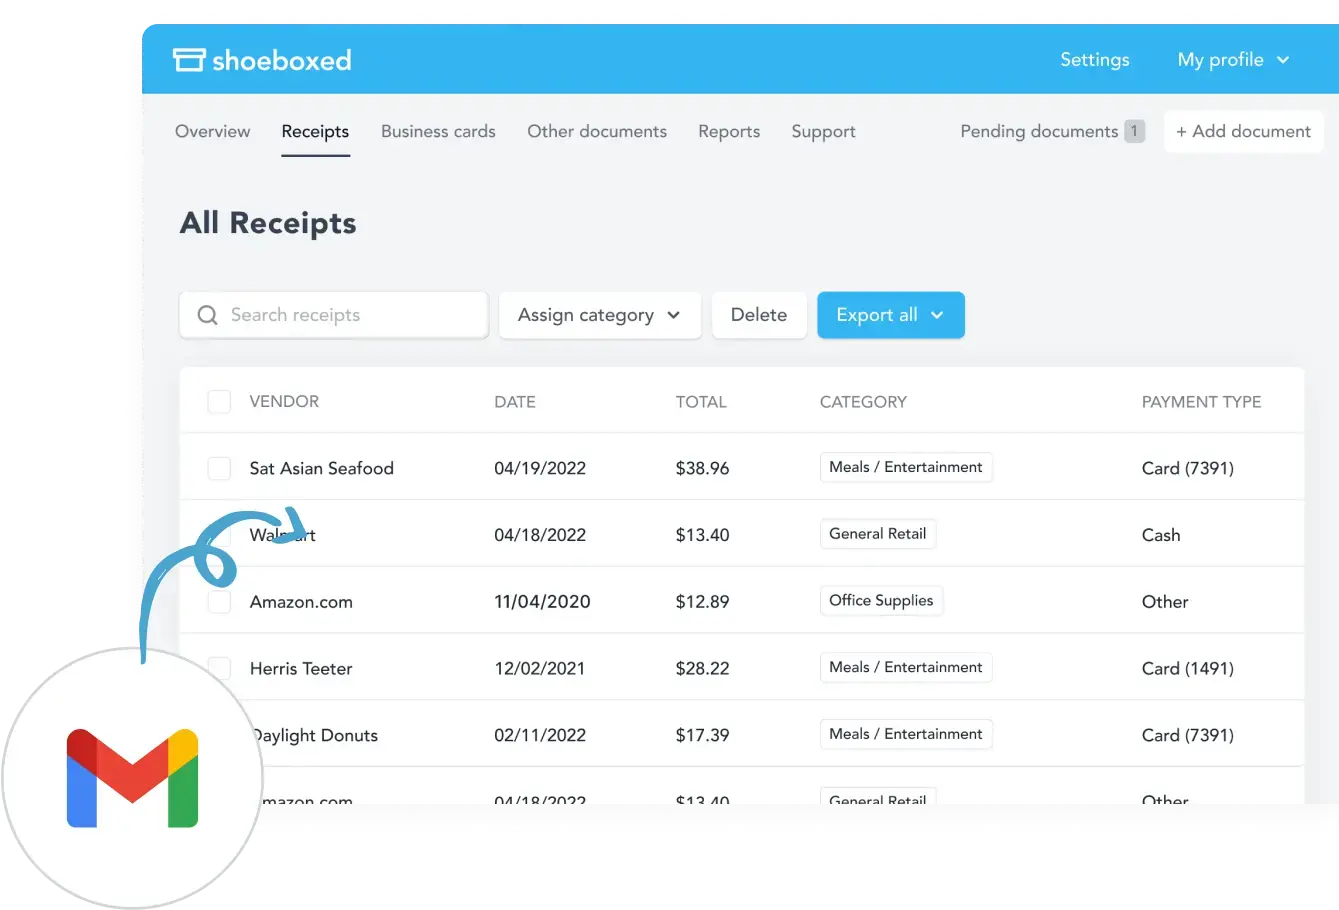
If you receive a Venmo receipt in your email, Shoeboxed offers a feature known as Gmail sync, where you can auto-import receipts from Gmail to Shoeboxed. From the emails, the receipts are forwarded directly to your unique Shoeboxed email address, which is automatically imported into your account.
Shoeboxed is the only receipt scanner app that will handle both your paper receipts and your digital receipts—saving customers up to 9.2 hours per week from manual data entry!
Automatic categorization
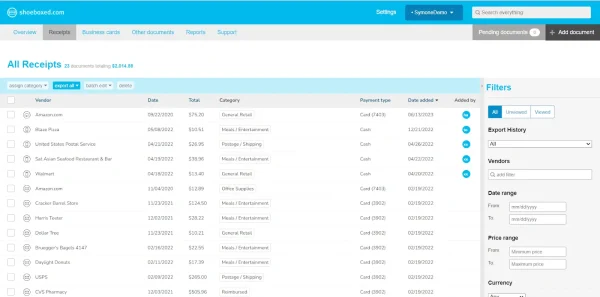
From there, Shoeboxed uses OCR (Optical Character Recognition) to automatically extract critical data from uploaded receipts, such as vendor names, dates, total amounts, and more. It then categorizes these receipts based on pre-set tax or custom categories that best fit your accounting needs.
Tagging and notes
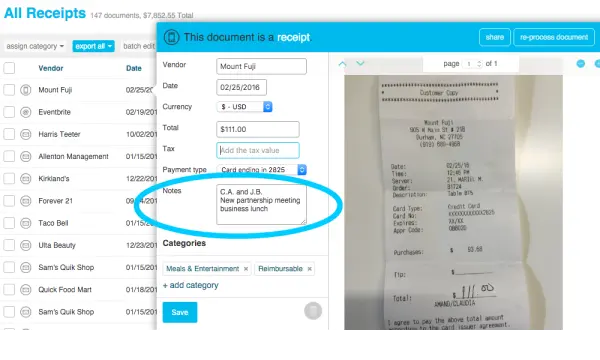
For further organization, you can add tags or notes to each receipt in Shoeboxed. This is particularly useful for Venmo receipts to note the specific purpose of each transaction, such as distinguishing between different types of expenses or noting client-related expenditures.
Integration with accounting software
Shoeboxed integrates with accounting software such as QuickBooks, Xero, and others. By managing your Venmo receipts in Shoeboxed, you can ensure that all transaction data is accurately reflected and easily transferable to your central accounting system for comprehensive financial tracking and tax purposes.
Ensuring compliance
Shoeboxed ensures that all digital copies of customer receipts, including those from Venmo transactions, are stored in a manner compliant with IRS regulations. This is critical for audit protection and tax preparation, making substantiating business expenses and deductions easier.
Turn receipts into data for tax time ✨
Try Shoeboxed’s systematic award-winning approach to receipt tracking for tax season. Try free for 30 days!
Get Started TodayAccess and retrieval
All receipts saved in Shoeboxed, including Venmo receipts, are stored securely in the cloud. This means you can access them anytime and from anywhere, which is particularly useful for retrieving financial information when needed for reports, taxes, or audits.
Lighten the Load✨
Learn How a Multi-Campus Church Reclaims 20 Hours a Month with the Shoeboxed App
Read the case studyFrequently asked questions
For Venmo users, what's the process for accepting payments?
If you use Venmo, money sent to you will appear as a Venmo payment in your balance. You can keep it in Venmo for future transactions or transfer it to your linked bank account. Standard bank transfers are free and take 1-3 business days, while instant transfers incur transaction fees.
How can I access my Venmo account statements?
You can view your transaction history and download it as a CSV file by clicking the 'Download CSV' button next to the 'View' button.
In conclusion
Venmo offers a convenient way to handle peer-to-peer or business transactions seamlessly. Shoeboxed provides a practical and efficient solution for managing Venmo receipts alongside other financial documents. Its capabilities to scan, categorize, and integrate with accounting systems make it invaluable for individuals and businesses looking to streamline their expense tracking and enhance financial accuracy and compliance.
Caryl Ramsey has years of experience assisting in bookkeeping, taxes, and customer service. She uses various accounting software for setting up client information, reconciling accounts, coding expenses, running financial reports, and preparing tax returns. She is also experienced in setting up corporations with the State Corporation Commission and the IRS.
About Shoeboxed!
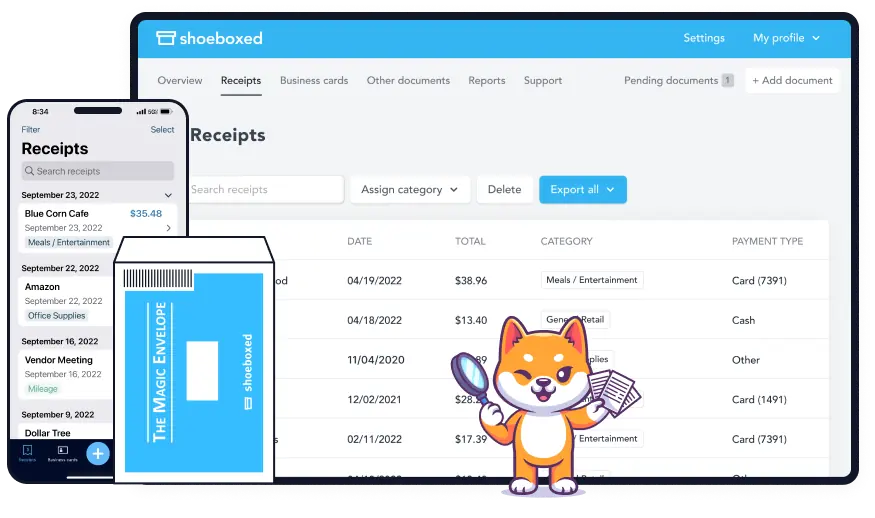
Shoeboxed is a receipt scanning service with receipt management software that supports multiple methods for receipt capture: send, scan, upload, forward, and more!
You can stuff your receipts into one of our Magic Envelopes (prepaid postage within the US). Use our receipt tracker + receipt scanner app (iPhone, iPad, and Android) to snap a picture while on the go—auto-import receipts from Gmail. Or forward a receipt to your designated Shoeboxed email address.
Turn your receipts into data and deductibles with our expense reports, including IRS-accepted receipt images.
Join over 1 million businesses scanning & organizing receipts, creating expense reports, and more—with Shoeboxed.
Try Shoeboxed today!
